Cisco utbildning
Insoft Services är en av få utbildningsleverantörer inom EMEAR som erbjuder hela utbudet av Cisco-certifiering och specialiserad teknikutbildning.
Läs mer

Cisco-certifieringar
Upplev en blandad inlärningsmetod som kombinerar det bästa av instruktörsledd utbildning och e-lärande i egen takt för att hjälpa dig att förbereda dig för ditt certifieringsprov.
Läs mer

Cisco Learning Credits
Cisco Learning Credits (CLC) är förbetalda utbildningskuponger som löses in direkt med Cisco och som gör det enklare att planera för din framgång när du köper Ciscos produkter och tjänster.
Läs mer

Cisco Fortbildning
Ciscos fortbildningsprogram erbjuder alla aktiva certifikatinnehavare flexibla alternativ för att omcertifiera genom att slutföra en mängd olika kvalificerade utbildningsartiklar.
Läs mer

Cisco Digital Learning
Certifierade medarbetare är VÄRDERADE tillgångar. Utforska Ciscos officiella digitala utbildningsbibliotek för att utbilda dig själv genom inspelade sessioner.
Läs mer

Partner för affärsaktivering
Cisco Business Enablement Partner Program fokuserar på att vässa affärskunskaperna hos Cisco Channel Partners och kunder.
Läs mer
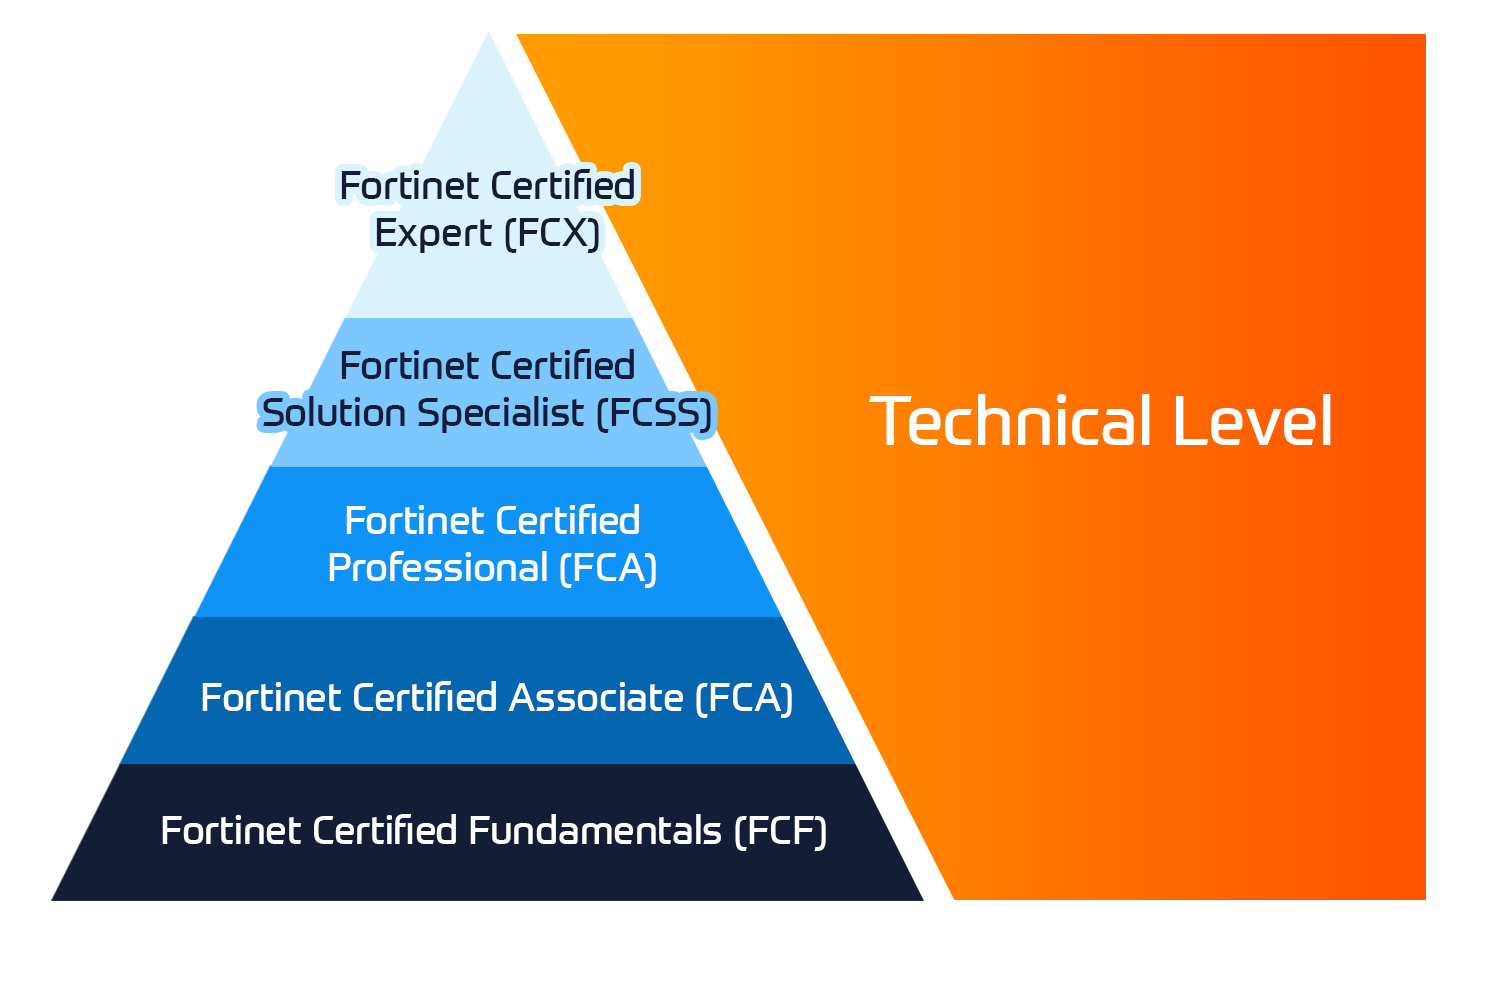
Fortinet-certifieringar
Fortinet Network Security Expert (NSE) -programmet är ett utbildnings- och certifieringsprogram på åtta nivåer för att lära ingenjörer om deras nätverkssäkerhet för Fortinet FW-färdigheter och erfarenheter.
Tekniska utbildningar

Tekniska utbildningar
Insoft är erkänt som Fortinet Authorized Training Center på utvalda platser i EMEA.
Läs mer

Fortinet Kurskatalog
Utforska ett brett utbud av Fortinet-scheman i olika länder samt onlinekurser.
Läs mer
Fortinet Professionella tjänster
Globalt erkända team av certifierade experter hjälper dig att göra en smidigare övergång med våra fördefinierade konsult-, installations- och migreringspaket för ett brett utbud av Fortinet-produkter.
Läs mer

Microsoft-utbildning
Insoft Services tillhandahåller Microsoft-utbildning i EMEAR. Vi erbjuder Microsofts tekniska utbildnings- och certifieringskurser som leds av instruktörer i världsklass.
Tekniska utbildningar

Extreme-utbildning
Lär dig exceptionella kunskaper och färdigheter i Extreme Networks.
Technische Kurse

Tekniske-certifieringar
Vi tillhandahåller omfattande läroplan för tekniska kompetensfärdigheter på certifieringsprestationen.
Läs mer

Extreme Kurskatalog
Hier finden Sie alle Extreme Networks online und den von Lehrern geleiteten Kalender für den Klassenraum.
Läs mer

ATP-ackreditering
Som auktoriserad utbildningspartner (ATP) säkerställer Insoft Services att du får de högsta tillgängliga utbildningsstandarderna.
Läs mer

Konsultpaket
Vi erbjuder innovativt och avancerat stöd för att designa, implementera och optimera IT-lösningar.Vår kundbas inkluderar några av de största telekombolagen globalt.
Lösningar och tjänster

Om oss
Insoft Tillhandahåller auktoriserade utbildnings- och konsulttjänster för utvalda IP-leverantörer.Lär dig hur vi revolutionerar branschen.
Läs mer
Contact Us
We would love to hear from you. Please complete this form to pre-book or request further information about our delivery options.


 United Kingdom
 Germany
 Denmark
 Norway
 Italy
Italy Netherlands
 Finland


